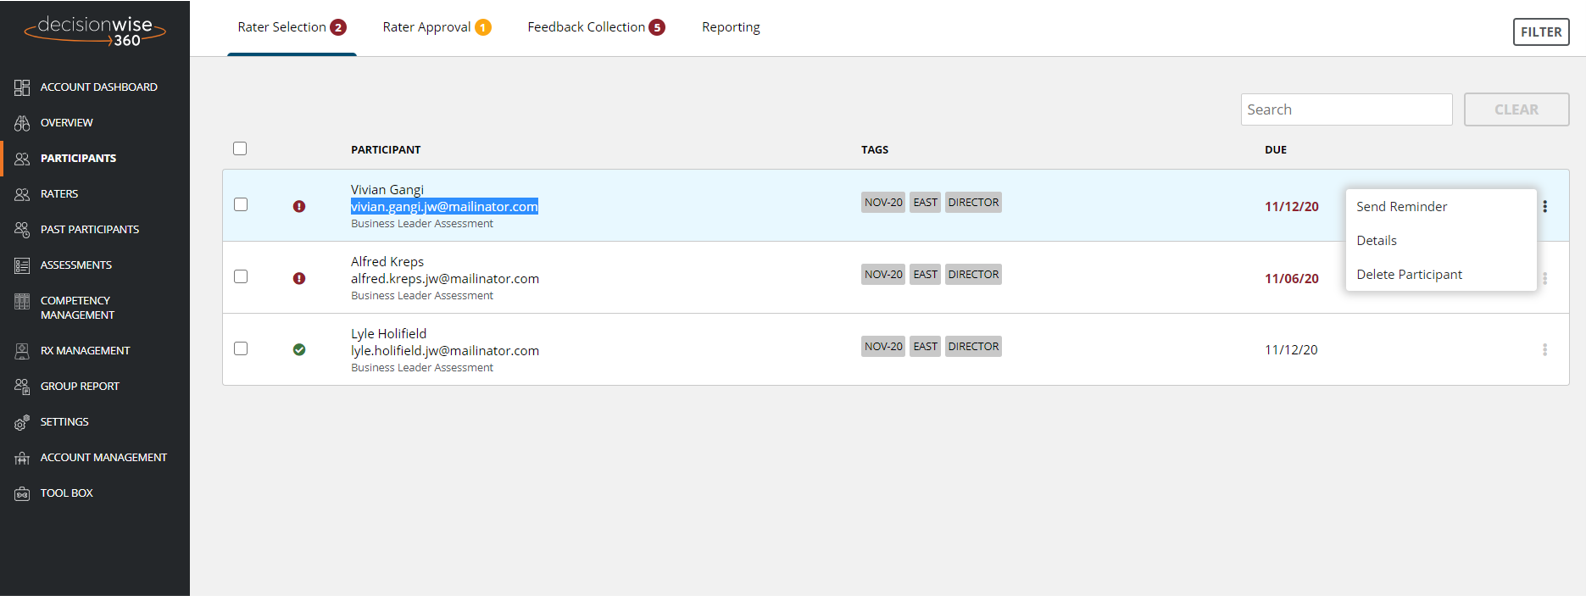
The “Rater Selection” tab on the top of the “Participants” section (in the gray left-hand navigation area) displays all participants who are in the Rater Selection process. In addition to viewing the table of raters, you have several options from this page:
Send reminder emails to a participant to complete the rater selection process.
View and change a participant’s details.
Delete a participant from the process.
Add tags to participants.
Move a participant to the next phase.
Send Reminder Emails to a Participant
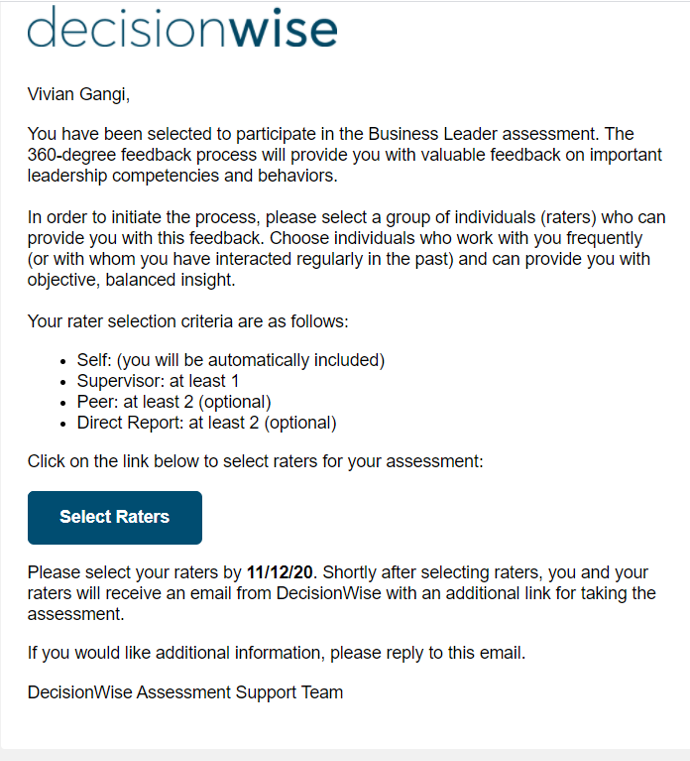
The DecisionWise 360 Platform automatically send participants reminder emails based on the email schedule you configure in the settings. On occasion, there may be a need to send reminder emails outside of this predefined schedule. To send an additional reminder email, find the participant, click the three (3) vertical dots, and select “Send Reminder.” A reminder email like the one shown here will be sent to the participant. At this time, this email can not be customized.
View and Change Participant Details
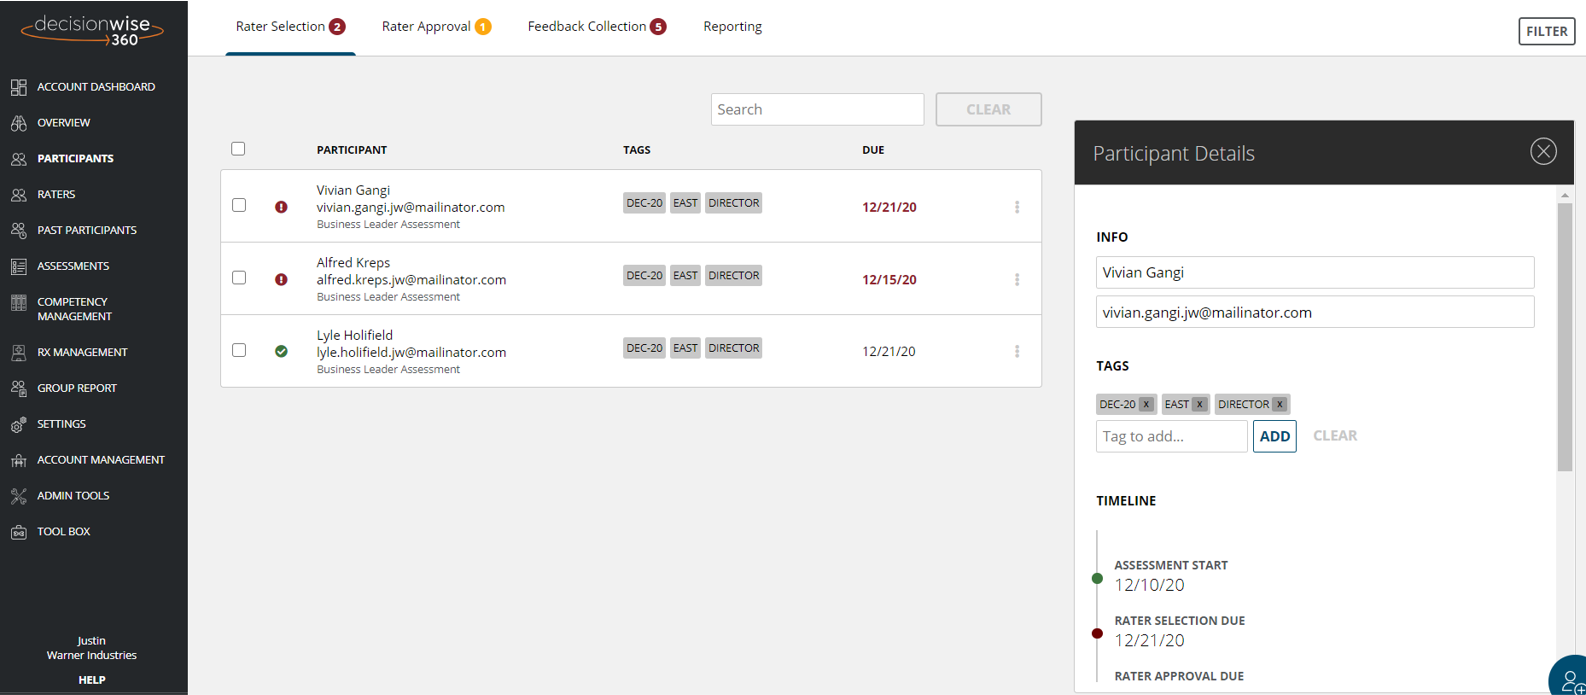
To view or change a participant’s details, find the desired participant, click the three (3) vertical dots on the right of the data row and select “Details.” The “Participant Details” panel will appear on the right side of the screen.
From this “Participant Details” pane you can:
Modify a participant’s name.
Modify a participant’s email address.
Add additional tags.
View the proposed timeline based on your configured settings.
View a participant’s unique link for the rater selection process (this is valuable in the event a participant misplaces their link; simply copy and then share this unique link with the participant through email, Slack, Teams, or other messaging system).
View event logs for account activity and emails sent.
Set up trending for reporting.
Remove a Participant
There may be a time when you need to delete a participant from active administration. To delete a participant, click the three (3) vertical dots and select “Delete.” Verify the deletion to completely remove the participant from active administration.
Note: Your account is charged for a 360-assessment when the feedback surveys are sent out; you may delete a participant without charge up until the feedback gathering process has been started.
Add Tags
Tags can be used to organize your 360-degree processes by allowing you to track participants, cohorts, or other demographics. You can add additional tags to participants via two methods:
Open the “Participant Details” pane as shown above and add additional tags.
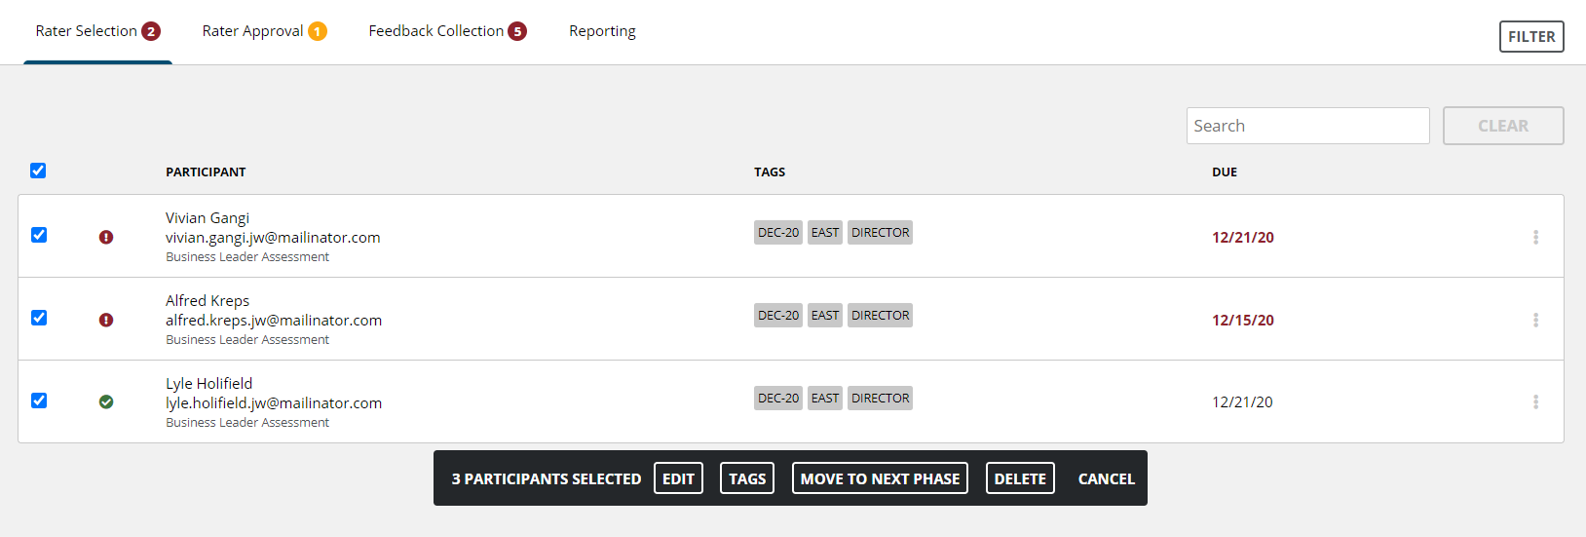
Select the box to the left of the participant name or select for bulk updates. Select “Tags” from the black box that will appear allowing you to add or remove tags.
Bulk Update Options
To add tags to a group, select all of the participants to receive a tag. Select “Tags” from the black bock that will appear allowing you to add or remove tags for these participants.
Move a Participant to the Next Phase in the Process
There are times when a participant completes their tasks before the scheduled time periods have closed. Should you want or need to move a participant to the next phase, you can click the three (3) vertical dots and select “Move to the Next Phase” in the black box that will appear, or you can move participants in bulk by selecting a group of participants by using the check boxes on the left side of the screen.
Note: Only participants who have met the minimum rater selection requirements can be moved to the next phase.
Bulk Update Options
To move a group to the next phase, select all the participants you desire to move and click the “Move to Next Phase” button in the black box. A verification panel will appear confirming you want to move this group. Select “Yes” to move the group to the next phase. If you have enabled rater selection for a participant, they will move to the rater selection process, if not, they will move to feedback collection.